Variable Recording Space Design for Home Voice Talent: Removable Soundproofing, Acoustic Treatment, and Moving-Safe DIY
Narration from ¥50,000, delivered in as little as 24 hours.
* If you have a fixed budget, let me know and we can work from there.
What Home Voice Talent Really Needs Is Not a Fixed Studio, but a Variable Studio
The longer a voice talent works from home, the more important it becomes not only to build a recording space, but to design one that can change. In rental apartments, three conditions always apply: you cannot heavily modify the walls, you must restore the room when moving out, and you still need a livable daily space. That is why variable recording space design matters.
A variable setup means creating a space that becomes quiet and acoustically controlled only when you record, then returns to normal living use afterward. The key is to separate soundproofing from acoustic treatment. Soundproofing deals with leakage to and from the outside; acoustic treatment manages reflections inside the room. In rentals, dramatic sound isolation is difficult, but optimizing absorption and managing gaps can still improve recording quality significantly.
The Basic Removable Setup: Floor, Rear, Sides, and Ceiling
The minimum practical structure I recommend consists of these four elements:
1. Floor
Use a 10–12 mm vibration-damping rubber mat plus carpet tiles. This reduces foot noise and stand-borne vibration. Even treating only the mic stand area helps.
2. Rear area
Place absorption behind the speaker. A 50 mm or thicker absorber works well. Rockwool board in the 48–80 kg/m³ range, wrapped in fabric and turned into self-standing panels, is ideal for rentals. Two 600 × 1200 mm panels are easy to handle.
3. Side areas
To control early reflections from left and right, use a rolling garment rack with thick acoustic blankets or mobile panels. Fabric alone mainly affects highs, so ideally insert 50 mm absorber material inside.
4. Ceiling
This is often overlooked, but it strongly affects vocal reflections. Instead of attaching anything directly overhead, use tension poles plus a lightweight frame. Keep each unit under about 3 kg for safety.
By making these four parts modular instead of permanent, you can create a booth-like setup during sessions and remove it in minutes afterward.
If You Need Full Restoration, It Is Better to Stand or Hang Than to Stick
One common rental-DIY mistake is attaching acoustic foam directly to the wall. Strong double-sided tape and adhesives can peel wallpaper or discolor surfaces. If restoration matters, the default approach should be non-adhesive installation.
There are three practical methods:
- Tension-mounted
Use 2×4 adjusters or LABRICO-style parts to create vertical posts, then attach lightweight panels
- Free-standing
Build wood-frame panels with feet and place them 5–10 cm away from the wall
That air gap also helps with lower-mid absorption
- Suspended
Use garment racks, modified music stands, or photo/video stands to hang fabric or panels
For narration, results often come less from treating the whole room and more from controlling reflections within about 1 meter of the mouth. Prioritize the 1.5-meter square area around the microphone before thinking about full-room treatment.
Easy Removal Increases Recording Consistency
This is often underestimated: if setup and teardown take more than 15 minutes each time, your working frequency usually drops. My benchmark is 5 minutes to deploy and 7 minutes to pack away.
To achieve that, assign a fixed place and repeatable workflow for each item:
- Number your panels
- Bundle cables by length with hook-and-loop ties
- Keep mic, interface, and pop filter in one case
- Mark stand height and boom angle
For example, if you place white tape on the mic stand shaft to indicate your “narration position,” you can return to the same distance and angle every time. Repeatability improves not only sound quality, but also editing efficiency.
For Moving, Separate Packing by Precision, Vibration, and Moisture Risk
For home voice talent, moving is both an opportunity to improve the studio and a time of real equipment risk. Do not pack everything the same way. Pack according to each device’s physical vulnerability.
Condenser microphone
Always include desiccant and use the original case whenever possible. If that is unavailable, use a hard case with foam. Avoid point pressure on the capsule area; support it laterally instead.
Audio interface
Protect knobs and ports. Use at least 10 mm of cushioning on both front and back, and orient the unit so no pressure is placed on the USB side.
Monitoring headphones
The weak point is often not the earcup but the hinge mechanism. Add thin cushioning around folding sections, and store the cable separately instead of wrapping it around the headphone body.
Acoustic panels
Corner damage is the main issue. Furniture corner protectors plus stretch film work well and help keep the panel shape intact for reinstallation.
Also note this: right after moving, rooms are often full of cardboard boxes, which temporarily reduce reflections. Many people think the room suddenly sounds better. Measure again after the boxes are gone. Even a simple smartphone RTA app or clap test is enough for comparison.
The Core of Variable Design Is Protecting Recording Quality Without Sacrificing Daily Life
The strength of home recording is availability: you can record whenever needed. But if the setup disrupts daily living, it will not last. That is why rental limitations should not be seen as weakness, but as conditions that sharpen your ability to design flexible, repeatable spaces.
Do not stick things permanently.
Do not damage the room.
Make it easy to return to normal.
Even so, you can still achieve a clean, focused, quiet vocal sound.
A recording space is defined less by its size than by its design. Even without a fixed booth, the person who can reproduce the same sound every time has a real professional advantage. What a home voice talent truly needs is not expensive construction, but a recording environment that is complete all the way through teardown.
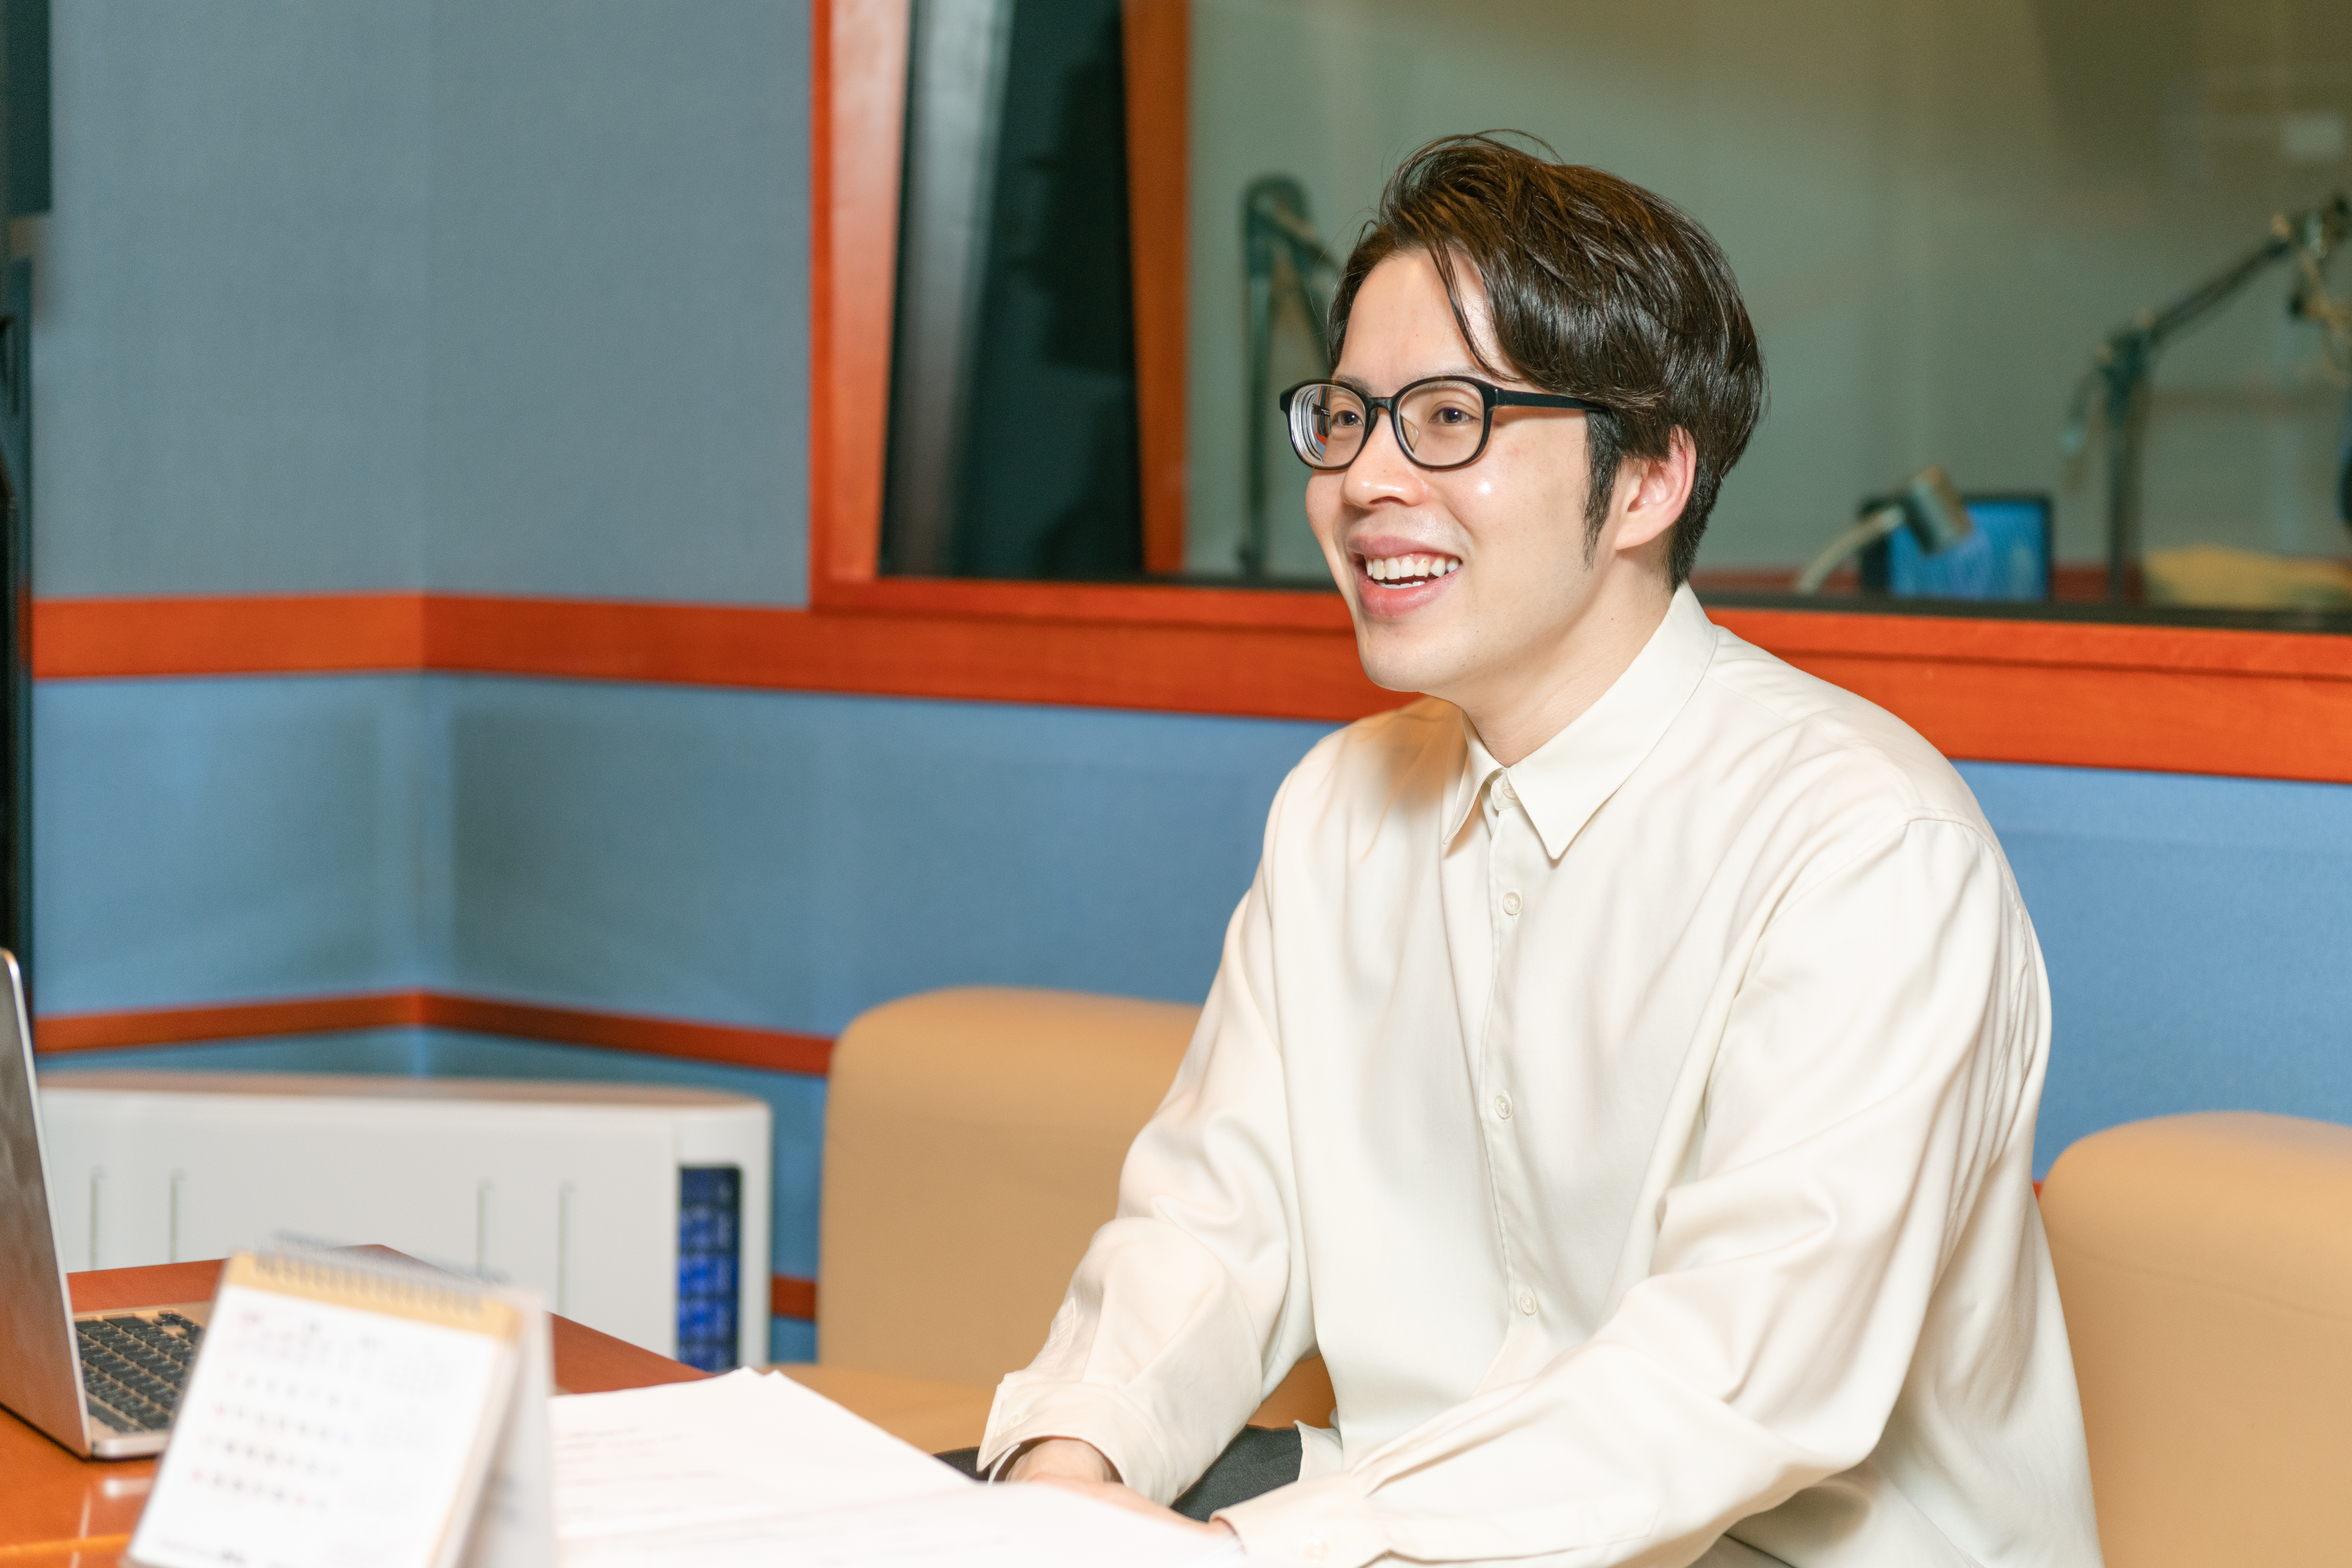
Masahiro Kobayashi
Professional Narrator
A Japanese male narrator handling over 200 projects a year across corporate videos, commercials and documentaries. Recorded in a broadcast-quality home studio and delivered fast.
Listen to voice samplesRelated Articles
Depreciation for Home Studio Narrators: Useful Tax Strategies for Mics, PCs, and Soundproofing
A practical guide to depreciation for home studio narrators, covering useful lives for microphones, audio interfaces, soundproofing, and PCs, plus when to expense costs immediately.
Turn Recording Pressure into Performance: Mental Control and Flow Routines for Narrators
How voice narrators can handle pre-session pressure, regulate nerves, sustain focus, and build practical routines to enter a flow state when it matters most.
Cloud DAW Strategies for Home Voice Talent: Comparing Soundtrap, BandLab, and Audacity Cloud for Real-Time Client Sessions
A practical guide for home voice talent on choosing and using cloud DAWs, comparing Soundtrap, BandLab, and Audacity Cloud-style tools, and designing real-time client-attended recording sessions.
CONTACT
Narration Enquiries & Quotes
Corporate VP, commercials, e-learning, product manuals — you do not need everything decided. Send the script length, intended media and target date, and I will come back with a proposal.
- From
- ¥50,000〜
- Turnaround
- 24 hours
- Format
- WAV / MP3
* If you have a fixed budget, let me know and we can work from there.
Or email directly: info@kobatee.jp