Smart Investment Priorities to Minimize Home Studio Equipment Costs
Narration from ¥50,000, delivered in as little as 24 hours.
* If you have a fixed budget, let me know and we can work from there.
In a Home Studio, Order Matters More Than Buying Everything at Once
In video production, the cost and scheduling effort of booking a recording studio for every narration session can quickly add up. That is where a home studio becomes highly attractive. However, one common mistake is trying to buy a full set of expensive gear from the very beginning.
In reality, the factors that determine recording quality have a clear order of importance. Even costly equipment will not deliver the expected result if the room has poor acoustics or too much noise. On the other hand, if you invest step by step in the right areas, you can build a practical and professional recording setup even on a limited budget.
For video producers, what matters is not the total price of the gear, but whether:
- the audio is consistently good enough for delivery
- pickups and revisions can be handled quickly
The First Priority Should Be the Recording Environment
Before deciding which microphone to buy, review the recording space itself. In home recording, the most cost-effective investment is often improving the room.
Why the Environment Comes First
Narration recordings capture not only the voice, but also unwanted sounds such as:
- room reflections from walls and ceilings
- air conditioner or computer fan noise
- traffic or neighborhood sounds from outside
- vibrations coming through the desk or floor
The better the microphone, the more clearly it captures these problems. That means your first investment should not be a premium microphone, but steps to reduce unnecessary sound.
Low-Cost Improvements That Often Work Well
You do not need a fully isolated vocal booth from day one. Start with practical measures like these:
- use thick curtains
- place rugs or carpet on the floor
- add absorptive materials, fabric, or bookshelves behind and beside the speaker
- record during quieter hours of the day
- keep laptops and other noisy devices farther from the microphone
These are relatively inexpensive changes, yet they can dramatically improve the perceived quality of a recording.
Equipment Priorities: Microphone, Interface, Then Accessories
Once the room is under control, the next step is gear. Here too, the key is not the highest price, but the right order of investment.
1. Start with a Proven Mid-Priced Microphone
For narration work, an established mid-range microphone is often a safer choice than either a bargain model or an unnecessarily expensive flagship model. It offers a better balance of sound quality, durability, and reliability over time.
When choosing a microphone, consider:
- whether it suits the narrator’s voice
- how low the self-noise is
- whether it is easy to obtain or replace
- whether it works well in a home studio environment
Your first microphone should not be the “best money can buy.” It should be a dependable standard tool you can use for actual work.
2. An Audio Interface Only Needs to Be Good Enough
The audio interface is the bridge between microphone and computer. But for a narration-focused home studio, a model with many inputs and advanced features is often unnecessary.
Focus on these points instead:
- low-noise mic preamps
- stable phantom power
- reliable drivers
- minimal latency and connection issues
From a video production standpoint, consistency is more valuable than extra features. The goal is to record under the same dependable conditions every time.
3. Accessories Are Easy to Overlook but Highly Cost-Effective
Accessories play a major role in keeping quality consistent. Important examples include:
- pop filter
- microphone stand
- shock mount
- closed-back headphones
- balanced cables
- quiet keyboard and mouse
Each item may be relatively affordable, but together they help prevent retakes and reduce unwanted noise. Improvements in plosive control, vibration isolation, and monitoring accuracy also reduce editing time.
Know Which Purchases Can Wait
Keeping costs low is not only about knowing what to buy first. It is also about knowing what you do not need yet.
Items That Can Usually Wait in the Beginning
At the launch stage of a home narration studio, these are often lower-priority purchases:
- comparing and replacing microphones in the high-end range
- large outboard processing gear
- overly expensive monitor speakers
- full-scale soundproof construction
- buying many plugins at once
These can be useful later, but they are rarely essential at the beginning. In fact, the more equipment you add, the more settings, maintenance, and troubleshooting you introduce.
Think in Terms of Investments You Can Actually Recover
The value of a home studio is not simply lower recording costs. Its real strength is the speed and flexibility it brings to the production process.
Situations Where the Investment Pays Back Quickly
- same-day replacement for revised narration
- early scratch narration to move editing forward
- fewer delays caused by studio booking schedules
- easier handling of regional or overseas projects
- lower outsourcing costs for short-form content
For that reason, home studio equipment should not be judged only by audio specs. It should also be evaluated by how much time it saves across the production workflow. Even a modest setup can generate strong returns when viewed this way.
A Safe Step-by-Step Setup Plan
To finish, here is a practical order for building a home studio while keeping spending under control.
Recommended Order
1. reduce noise and add simple acoustic treatment to the recording space
2. buy a reliable mid-priced microphone
3. add a stability-focused audio interface
4. prepare accessories such as a pop filter, stand, and headphones
5. add new gear only after real-world use reveals a clear need
Following this order helps avoid unnecessary upgrades and gets you to usable quality faster.
Conclusion
The key to minimizing home studio equipment costs is not simply buying the cheapest tools. It is making investments in the right order. Start with the recording environment, then move to the microphone, audio interface, and accessories. That is how you balance quality and budget.
For video production teams, what matters most is not an impressive gear list, but a setup that can deliver reliable audio whenever needed. A home studio is a highly rational solution for that goal. Even with a limited budget, smart priorities can create a recording environment that is fully capable of professional use.
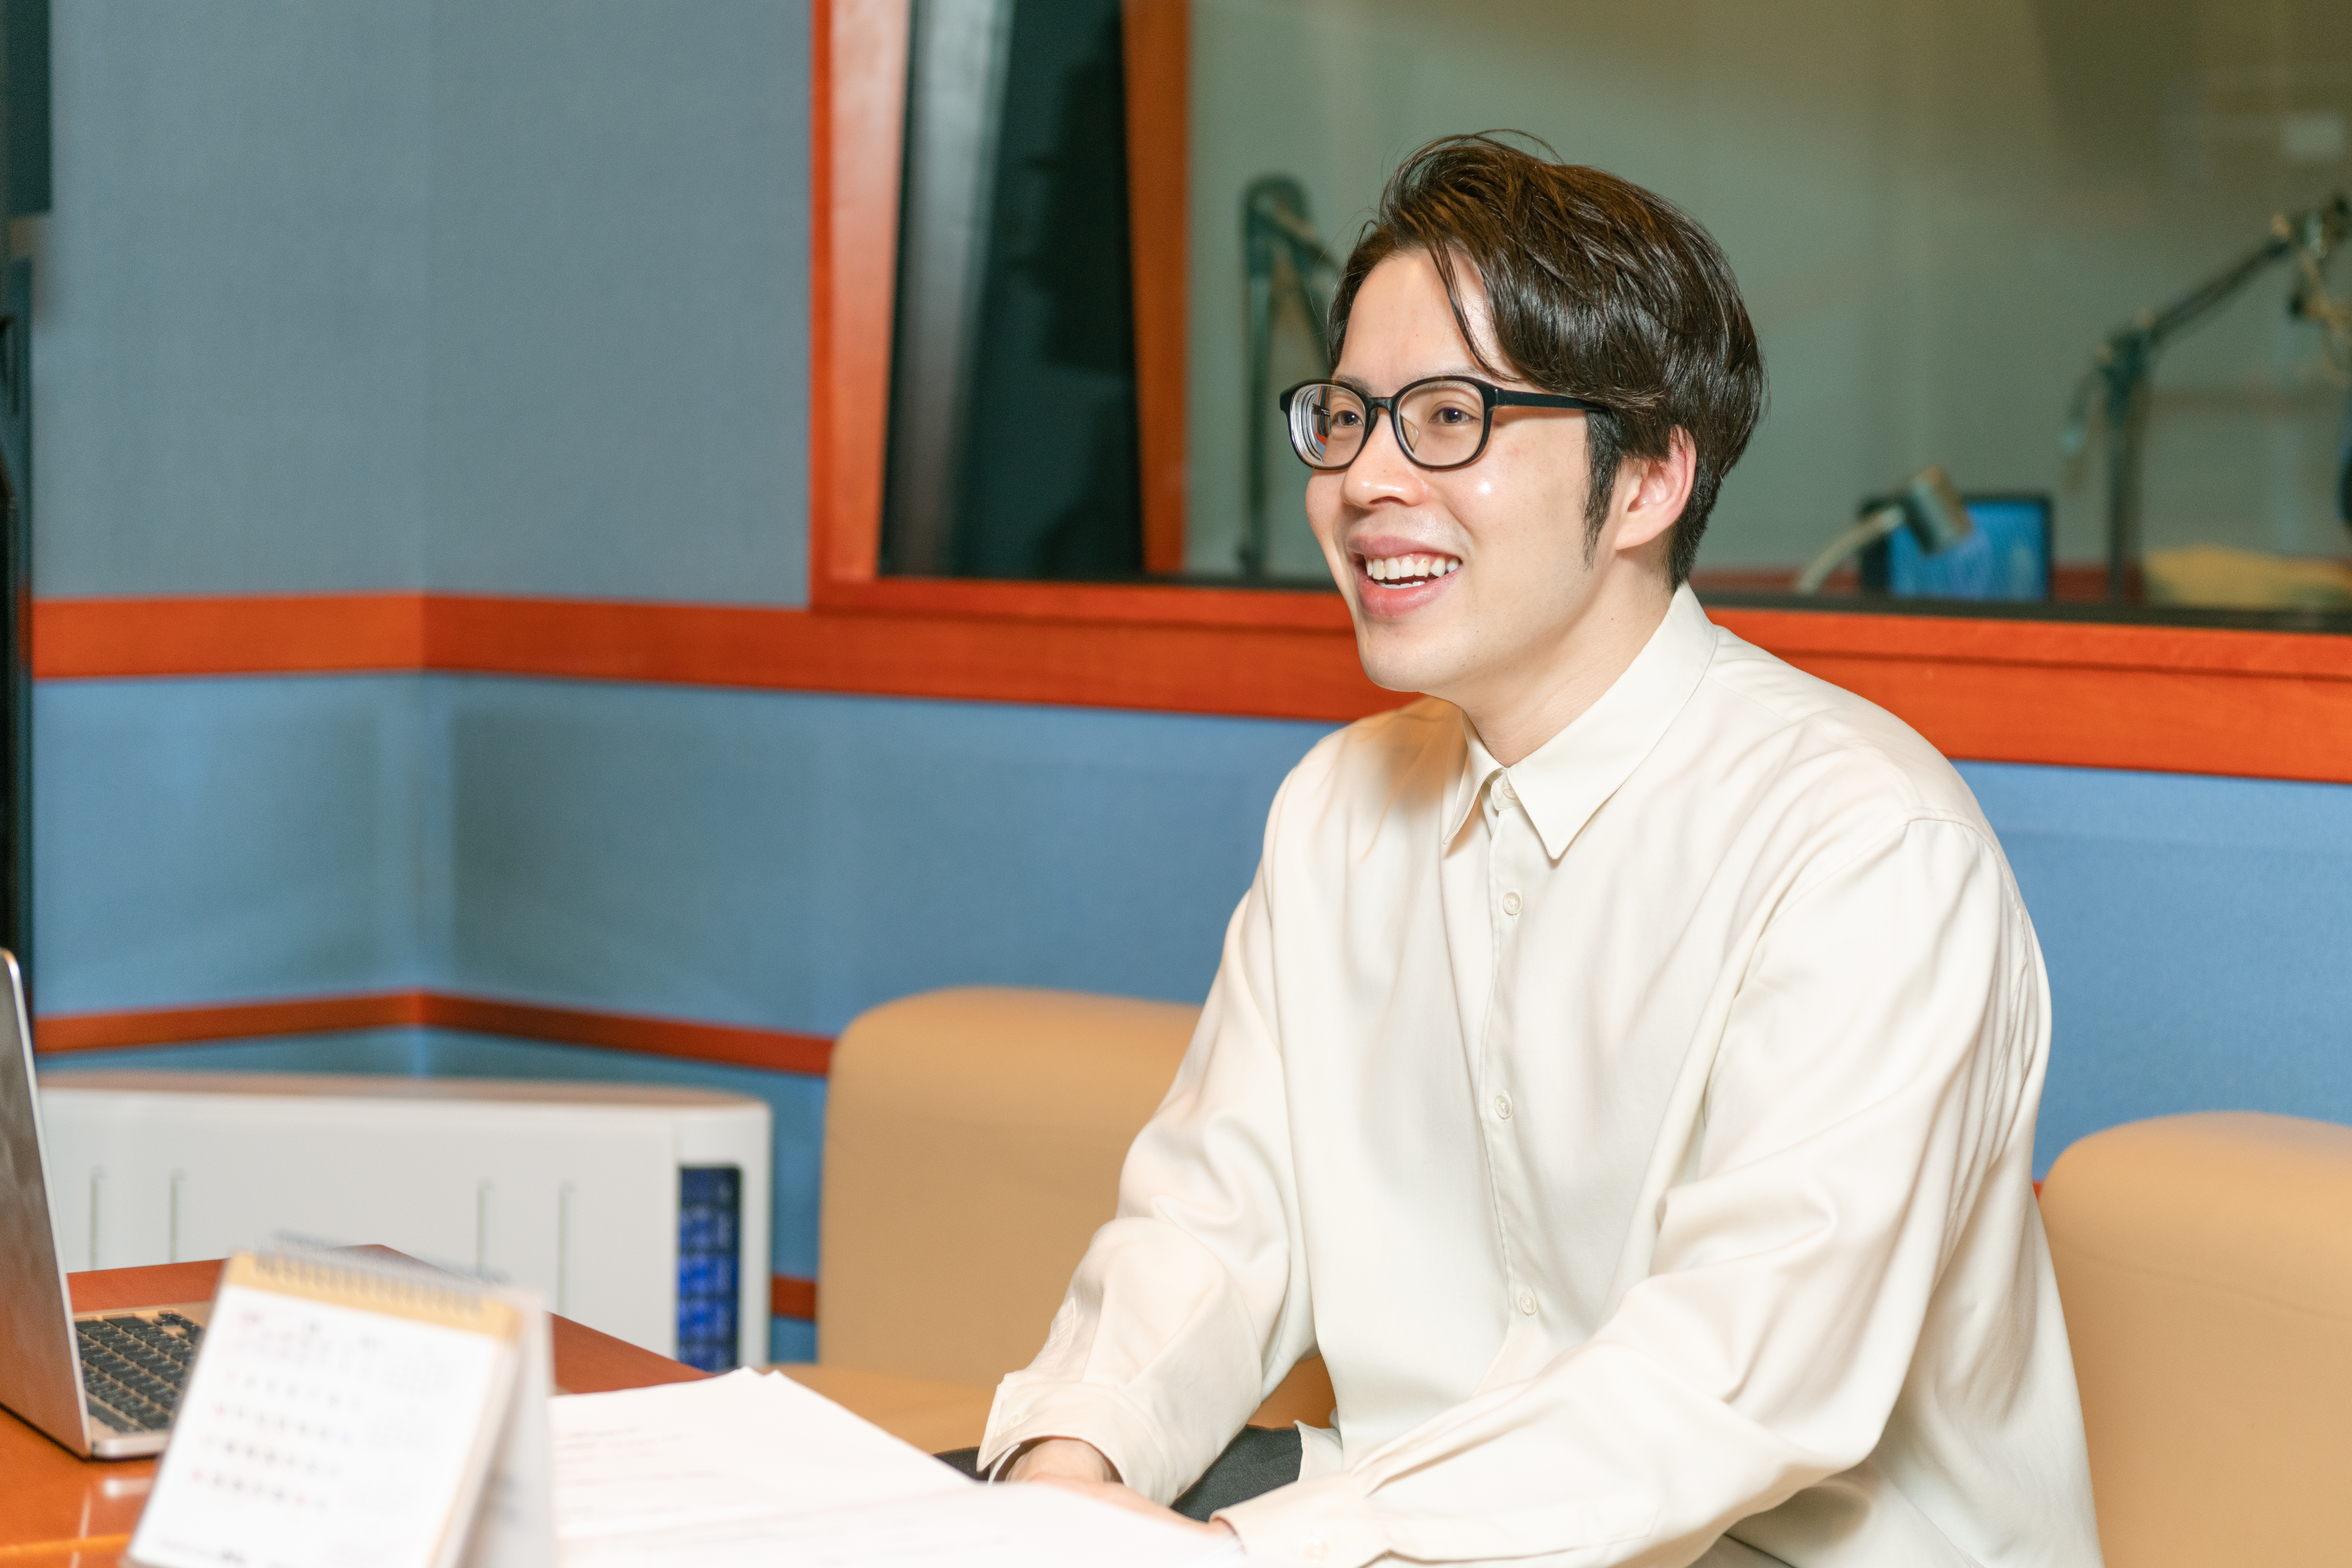
Masahiro Kobayashi
Professional Narrator
A Japanese male narrator handling over 200 projects a year across corporate videos, commercials and documentaries. Recorded in a broadcast-quality home studio and delivered fast.
Listen to voice samplesRelated Articles
Depreciation for Home Studio Narrators: Useful Tax Strategies for Mics, PCs, and Soundproofing
A practical guide to depreciation for home studio narrators, covering useful lives for microphones, audio interfaces, soundproofing, and PCs, plus when to expense costs immediately.
Turn Recording Pressure into Performance: Mental Control and Flow Routines for Narrators
How voice narrators can handle pre-session pressure, regulate nerves, sustain focus, and build practical routines to enter a flow state when it matters most.
Cloud DAW Strategies for Home Voice Talent: Comparing Soundtrap, BandLab, and Audacity Cloud for Real-Time Client Sessions
A practical guide for home voice talent on choosing and using cloud DAWs, comparing Soundtrap, BandLab, and Audacity Cloud-style tools, and designing real-time client-attended recording sessions.
CONTACT
Narration Enquiries & Quotes
Corporate VP, commercials, e-learning, product manuals — you do not need everything decided. Send the script length, intended media and target date, and I will come back with a proposal.
- From
- ¥50,000〜
- Turnaround
- 24 hours
- Format
- WAV / MP3
* If you have a fixed budget, let me know and we can work from there.
Or email directly: info@kobatee.jp